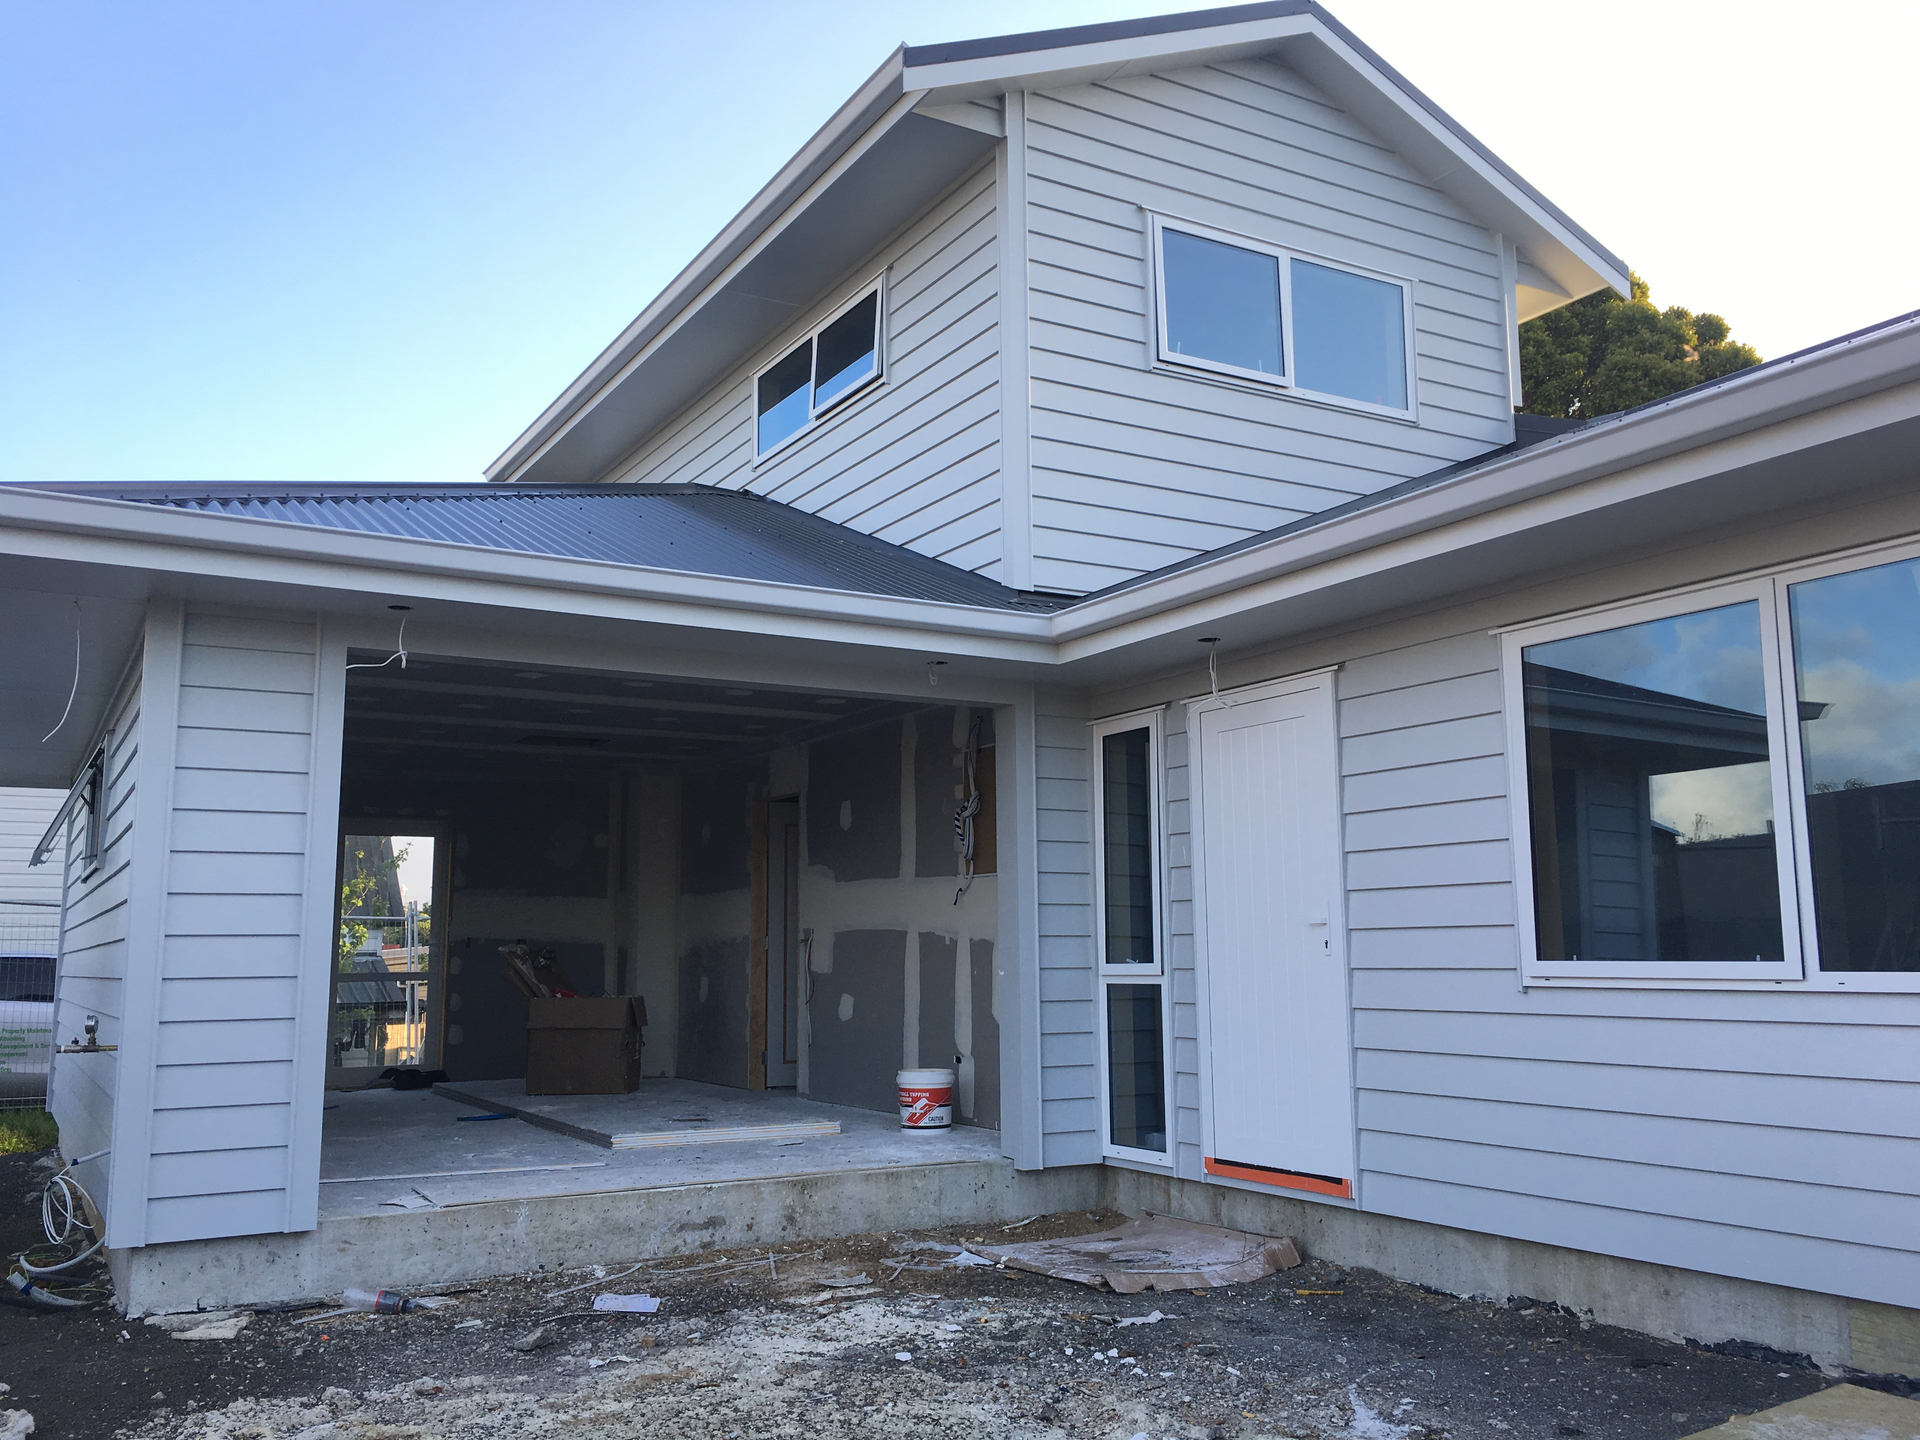
Transforming Spaces: GIB Stopping for a Professional Finish
Michelle Marcelline • 2023-06-03
GIB stopping is a crucial step in achieving a professional finish for walls and ceilings.
By understanding the process and following a few simple steps, you can transform your spaces into polished and inviting areas.
Let's dive into the world of GIB stopping in Auckland and discover how it can make a difference in your home.
Understanding GIB Stopping
- What is GIB board? GIB board, also known as plasterboard or drywall, is a popular material used for constructing interior walls and ceilings. It consists of a gypsum core encased in layers of paper.
- What is GIB stopping? GIB stopping is the process of applying a joint compound to the GIB board surface to create a smooth and seamless finish. It involves filling gaps, covering joints, and concealing imperfections.
- Why is GIB stopping important? GIB stopping is essential as it enhances the appearance of walls and ceilings, creating a clean and professional finish. It provides a solid foundation for painting or wallpapering, ensuring a flawless end result.
Preparing for GIB Stopping
Before you begin the GIB stopping process, it's important to gather the necessary tools and materials and prepare your workspace:
- Gathering the necessary tools and materials: You will need a putty knife, trowel, sanding block, sandpaper, joint compound, drywall tape, primer, and your desired finish, such as paint or wallpaper.
- Preparing the workspace: Clear the area of furniture and cover the floor with drop cloths or plastic sheets to protect it from any dust or mess created during the GIB stopping process.
Surface Preparation
To achieve a professional finish, proper surface preparation is key:
- Cleaning the walls or ceilings: Start by wiping the surface with a damp cloth to remove any dust, dirt, or grease. This ensures that the joint compound adheres well to the GIB board.
- Patching holes and cracks: Inspect the surface for any holes or cracks and fill them with joint compound. Use a putty knife to smooth the compound and create a level surface.
Applying the Joint Compound
The joint compound is the primary material used in GIB stopping to achieve a smooth finish:
- Mixing the joint compound: Follow the instructions on the packaging to mix the joint compound to the desired consistency. It should be creamy and easy to spread.
- Spreading the compound on the surface: Use a putty knife or trowel to spread the joint compound over the GIB board surface. Apply it evenly, covering joints and gaps completely.
Taping and Mudding
Taping and mudding are crucial steps in GIB stopping that reinforce the joints and create a seamless surface:
- Applying drywall tape: Place drywall tape over the joints, ensuring it is centered and free from wrinkles or bubbles. The tape provides extra strength and prevents cracks from forming.
- Covering the tape with joint compound: Apply a layer of joint compound over the tape, pressing it firmly into the compound. This ensures that the tape is fully embedded and there are no visible edges.
Sanding and Smoothing
Sanding plays a vital role in achieving a flawless GIB stopping finish:
- Sanding the dried compound: Once the joint compound is completely dry, use a sanding block or sanding pole with medium to fine-grit sandpaper. Sand the surface gently to smoothen out any imperfections.
- Smoothing out imperfections: Pay attention to any visible seams or uneven areas. Apply additional joint compound to fill and smooth out these imperfections, creating a seamless surface.
Finishing Touches
To complete the GIB stopping process, apply the finishing touches:
- Priming the surface: Before applying the final finish, it's essential to apply a coat of primer. The primer helps the finish adhere better and ensures a long-lasting result.
- Painting or wallpapering: Once the primer is dry, you can proceed with your desired finish, such as painting the walls or applying wallpaper. Enjoy the transformation of your space!
Common Mistakes to Avoid
To ensure a successful GIB stopping project, be aware of these common mistakes and avoid them:
Applying too much joint compound: Avoid overloading the surface with joint compound. Applying thin, even layers is key to achieving a smooth and even finish.
Rushing the drying process: Give each layer of joint compound sufficient drying time. Rushing the process can compromise the integrity of the compound and result in a subpar finish.
Neglecting proper sanding: Take your time to sand the surface properly. Neglecting this step can leave behind visible imperfections, affecting the final result.
Conclusion
GIB stopping is a valuable skill owned by GIB Stoppers that can transform your spaces and give them a professional finish.
By following the steps outlined by GIB Stoppers Auckland, you can achieve impressive results in GIB stopping.
Remember to gather the necessary tools, prepare the surface, apply the joint compound, and complete the taping, sanding, and finishing stages.
Avoid common mistakes and take your time to ensure a flawless outcome. Enjoy the process of transforming your spaces with GIB stopping Auckland!
See More Posts
Cardy
Copyright © 2021 Govest, Inc. All rights reserved.
Made in Typedream


